This chapter describes the role of static libraries in Win32/x86 projects and how to create them.
For additional information, see "Creating Win32/x86 Applications" and "Creating Win32/x86 Dynamic Link Libraries." These sections contain information on creating executable applications and dynamic link library (DLL) projects. For more information on projects in general, refer to the IDE User Guide.
A static library is a collection of functions and data that can be incorporated
into an application program (or another library). You can use
predefined libraries supplied with the CodeWarrior® IDE, and you
can create your own custom-designed libraries for use in your
own projects. Unlike a dynamic link library (DLL), whose contents
reside in a separate file and are loaded into memory and linked
up with the client program at execution time, the code and data
of a static library are included in the client program's project
and linked directly into the program at the time it is built.
 NOTE
NOTE To find a list of all the processors you can target, refer to "x86 Processor."
The steps for creating a static library are essentially the same as those for creating a stand-alone application.
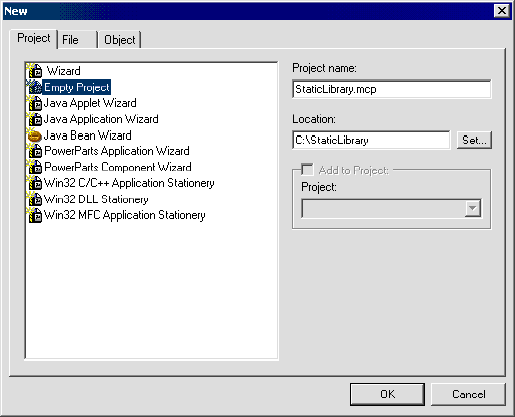
Choose File > New. The New dialog appears, as shown in Figure 5.1.
2. Select the project category.
Select Empty Project from the list in the Project tab.
Type a name for your project in the Project name field. By convention, a project name ends with .mcp. You may use the Location field or Set button to choose a different location to store the project. Then
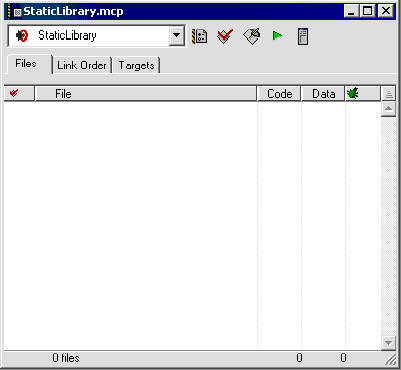
click OK. When the IDE is finished creating your project, a project window
appears, as shown in Figure 5.2.
4. Create a group for the source files
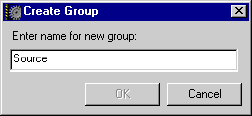
Crate a new group folder in the project window by choosing Project > Create Group. Type a name for the group in the Create Group dialog, as shown in Figure 5.3.
5. Add source files to the project.
If you do not already have source files prepared, then you will need to write them. Click New Text File in the CodeWarrior IDE tool bar. An edit window appears, as shown in Figure 5.4. Write your source code, then choose File > Save. The Save document as dialog appears, as shown in Figure 5.5. Type a name for your source file in the File name field, then click Save.
Edit window: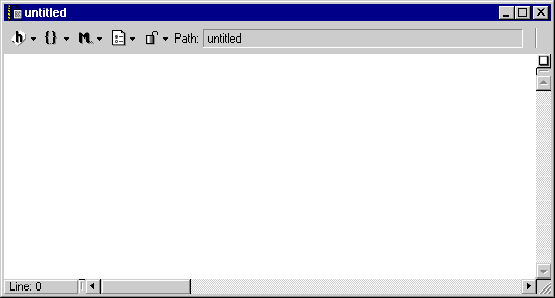
Save document as dialog: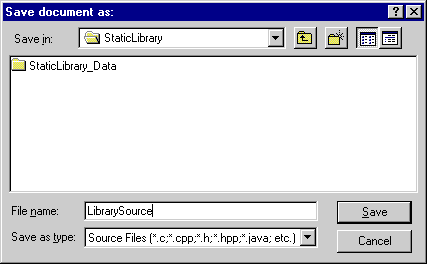
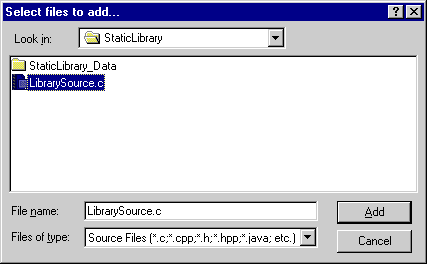
Once you have written your source files or if you already have source files written, select the folder for your source files in the project window, then choose Project > Add Files. The Select files to add dialog appears, as shown in Figure 5.6. Navigate to your source files, select them (use Control-click to select multiple files), then click Add.
6. Examine the Target settings.
Choose Edit > Target Settings, where Target is the name of the project's currently selected
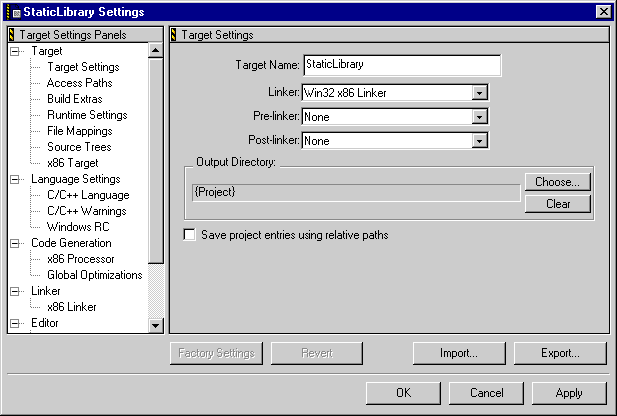
target. The Target Settings window appears, as shown in Figure 5.7. Use this window to specify various optional settings for the
project. The exact settings chosen will depend on the programming
language in which the source code is written, the platform for
which the project will be compiled, and the size of the project.
For Win32/x86 projects, settings for the target platform, the project type, the compiler, and the linker must be specified. There are various other, optional settings that can be specified as well. To learn more about specifying settings, see "Target Settings for Win32/x86."
The Target Settings panel appears by default in the Target Settings window. The settings in this panel are usually fine as they are,
but they can be changed if necessary. See "Target Settings" for more information on the Target Settings panel.
Select x86 Target in the Target Settings Panels area. The x86 Target panel appears, as shown in Figure 5.8. Set the Project Type list box to Library (LIB). Next, type a name for the libary in the File Name field. Click Apply to implement the changes.
See "x86 Target" for more information on the x86 Target panel.
x86 Target
x86 Target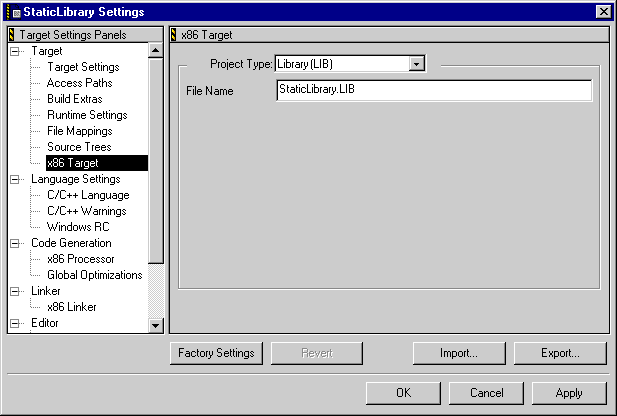
Select C/C++ Language in the Target Settings Panels area. The C/C++ Language panel appears, as shown in Figure 5.9. Ordinarily, the default settings are fine as they are in this
panel, but you are free to change them. In particular, you may
need to enable the Activate C++ Compiler option. For more information about setting language preferences,
refer to the C Compilers Reference.
C/C++ Language
C/C++ Language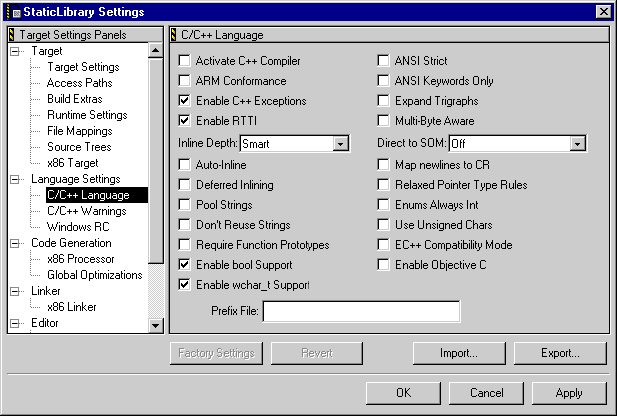
10. Specify additional settings.
You can continue to examine other target settings panels and change any settings you wish. For more information on the various panels and settings available, see "Settings Panels for Win32/x86" as well as the relevant sections of the IDE User Guide, and the C Compilers Reference. When you are finished examining project settings, click OK to save your settings and close the Target Settings window.
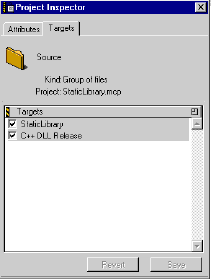
If you want, you can click on the Targets tab of the project window and choose Project > Create New Target. This allows you to add a special target group to better organize your build. You can also delete targets in this view. If you want to have certain files included in some targets but not in others, select the file and choose View > Project Inspector. The Project Inspector window appears, as shown in Figure 5.10. This window allows you to view information about a selected files and to assign files to specific targets. Click the Targets tab, then enable or disable the options in the Targets area to include or exclude the file from the targets in the project. Refer to the IDE User Guide for more information on managing multiple targets.
After your project is created and its contents and all necessary
settings are specified, you are ready to compile and debug your
code. Choose Project > Make to compile and link your project. If all goes well, the IDE stores
the resulting output file in your project folder under the name
you specified in the x86 Target settings panel. For more information on compiling and linking,
refer to the IDE User Guide.