
The Java Application wizard is divided into the following steps:
1. Describe the application class for the Java application.
2. Describe the frame class for the Java application.
3. Provide additional information for the Java application.
To use the Java Application wizard, follow these steps:
1. Describe the application class for the Java application.
This section of the wizard, shown in Figure 12.8, lets you specify application class information for the Java application.
Java Application wizard - Application Class: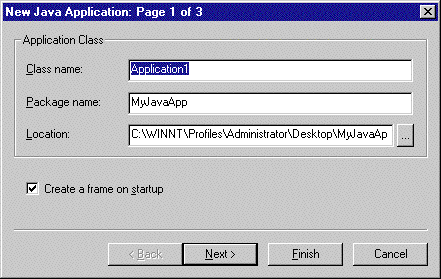
This section includes the following parts:
Enter a name for the application's class in this field. An example name is provided.
Enable this checkbox if you want the IDE to automatically generate a new layout frame. This option automatically displays the Layout Editor, Component Palette, and Object Inspector. Disable the checkbox if you do not want to automatically display these tools.
2. Describe the frame class for the Java application.
This section of the wizard, shown in Figure 12.9, lets you specify frame class information for the Java application.
This section includes the following parts:
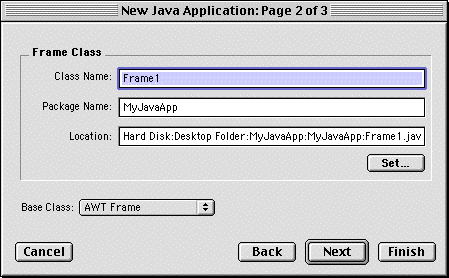
Enter a name for the frame's class in this field. An example name is provided.
3. Provide additional information for the Java application.
This section of the wizard, shown in Figure 12.10, lets you provide additional information to describe the application.
This section includes the following parts:
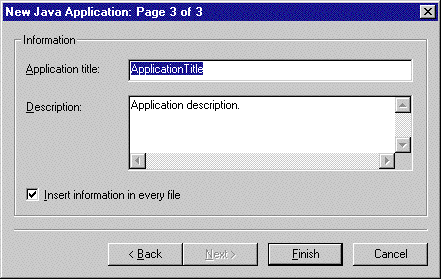
If desired, enter a title for the new application in this field.
If you wish, type a description for the new application in this field.
To add the information contained in the Application title and Description fields to the beginning of every application file, enable this checkbox. Disable the checkbox otherwise. The checkbox is enabled by default.